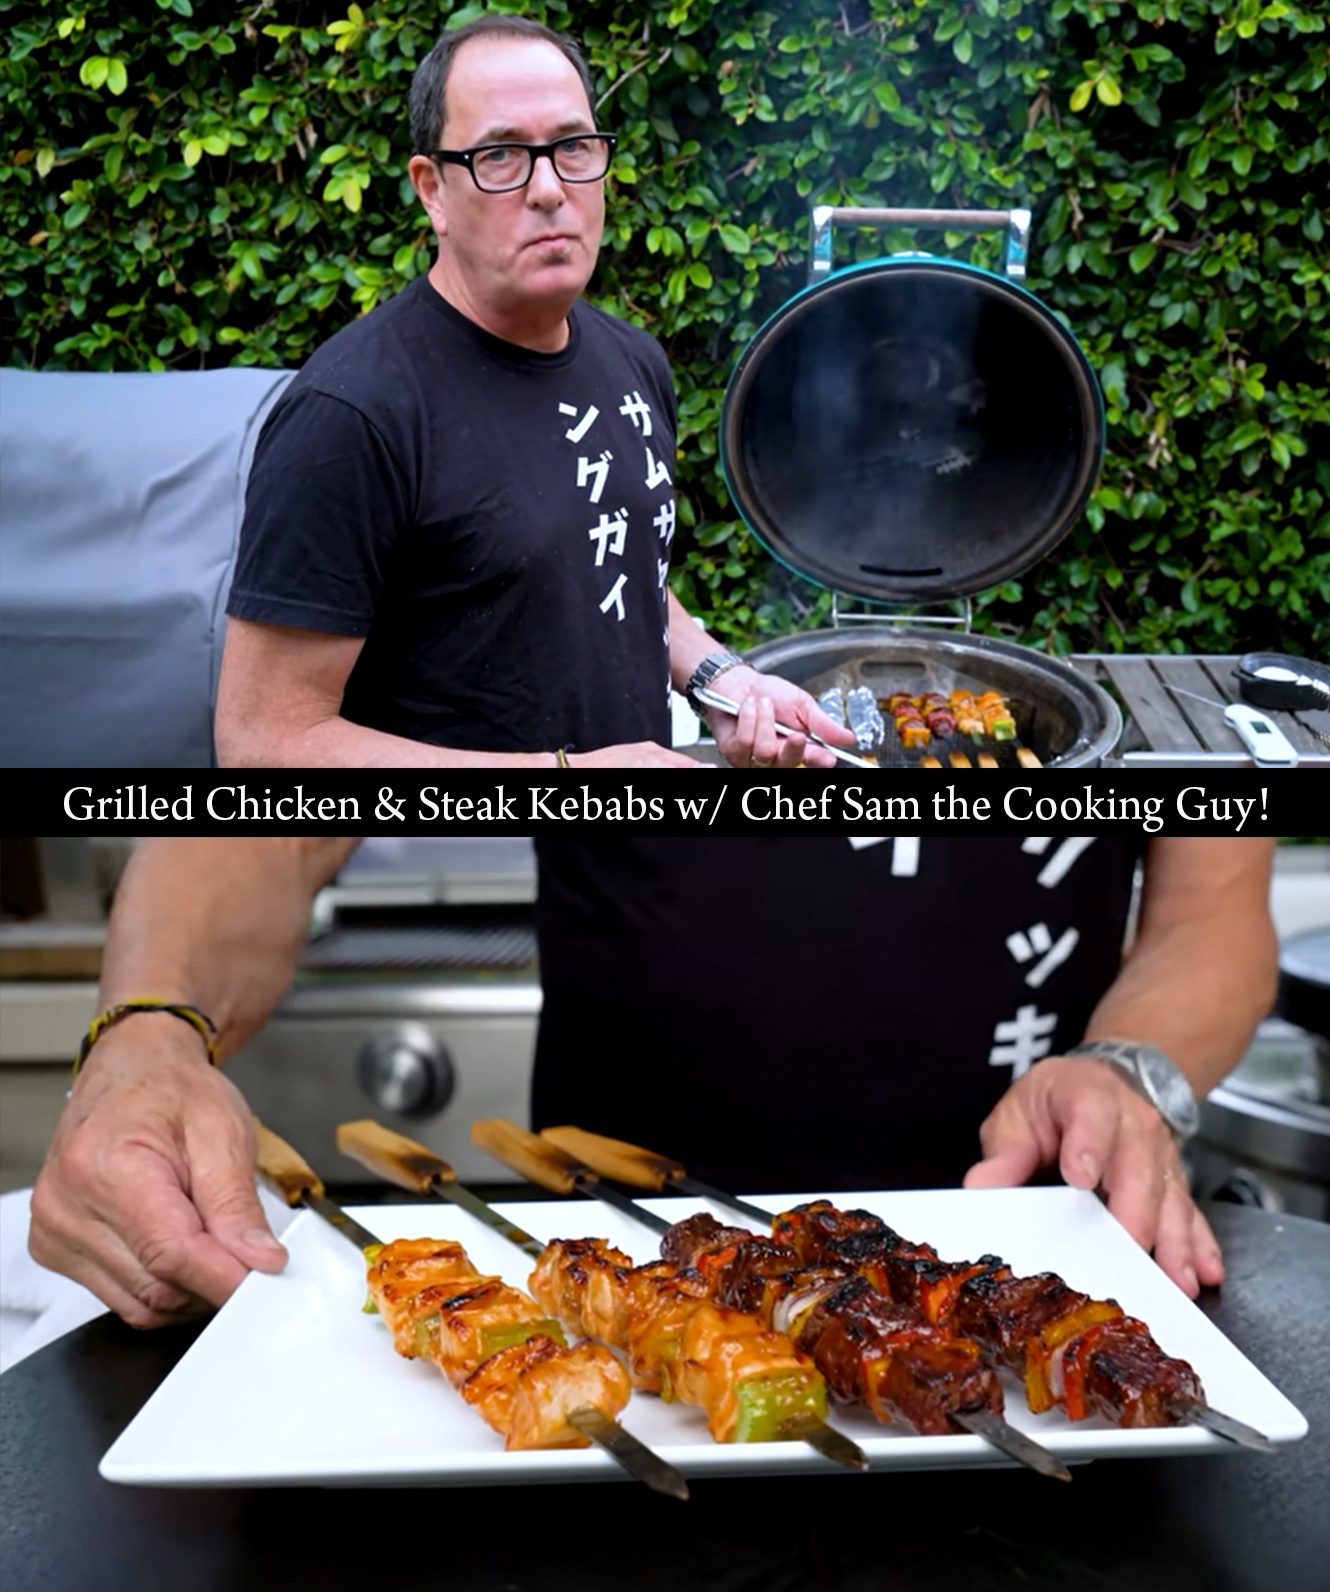
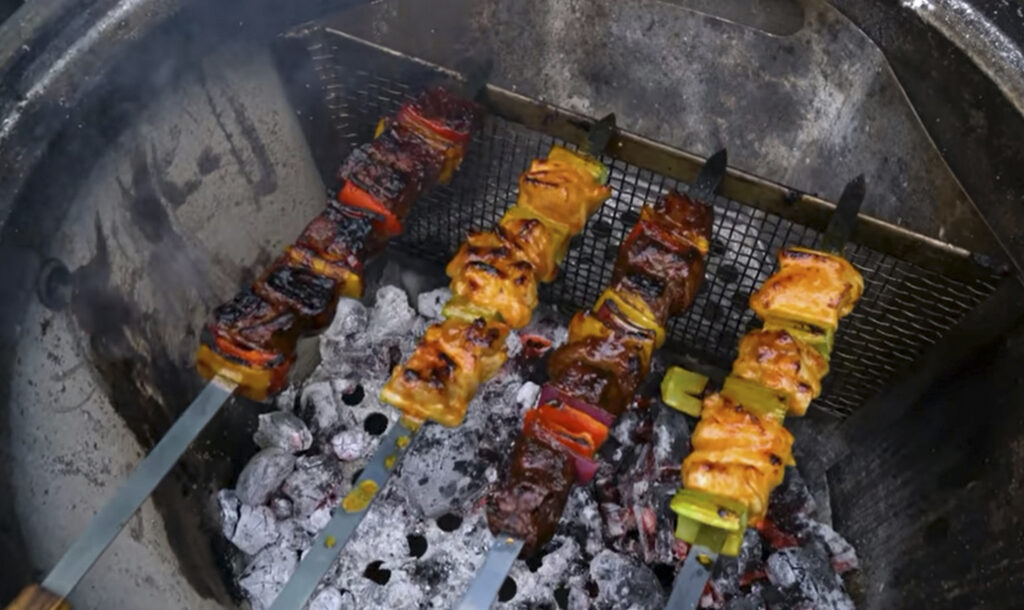
Both sets of skewers received some sprinkles of kosher salt, but the sauces are brushed on continually after they are placed over the charcoal. Sam says to also make sure to keep cut your proteins all about the same size for even cooking. And, to complete the full tasting for the buffalo chicken kebab, it is a must to create this dipping sauce using blue cheese, sour cream, Japanese mayo, celery salt and buttermilk. For the full recipe click here or on the video below.
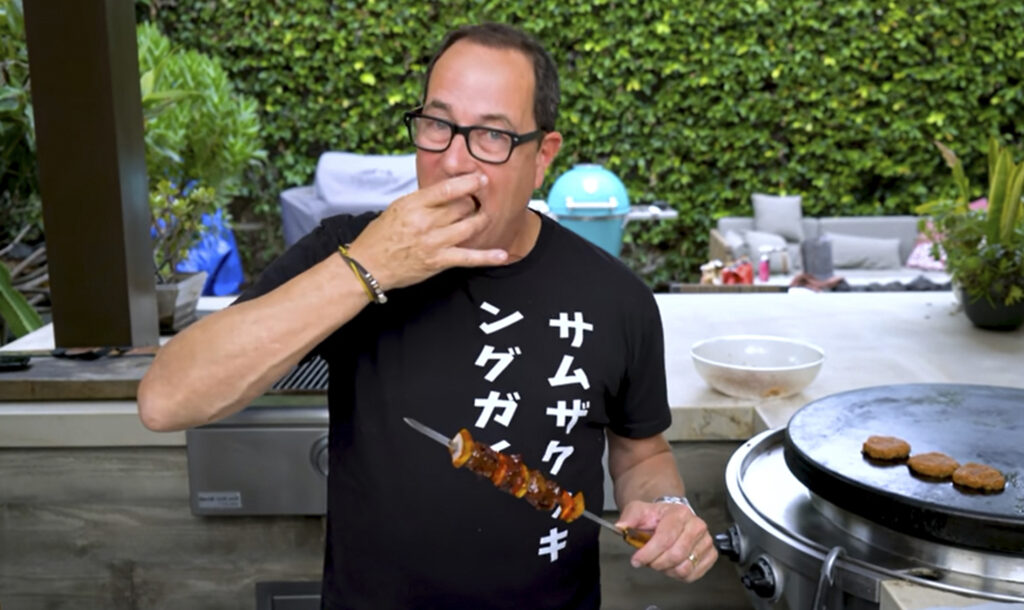
To learn about the mystery patties to the right of the picture above and the foiled skewers to the left in the video below, you will need to watch Sam’s full video by clicking here or below.
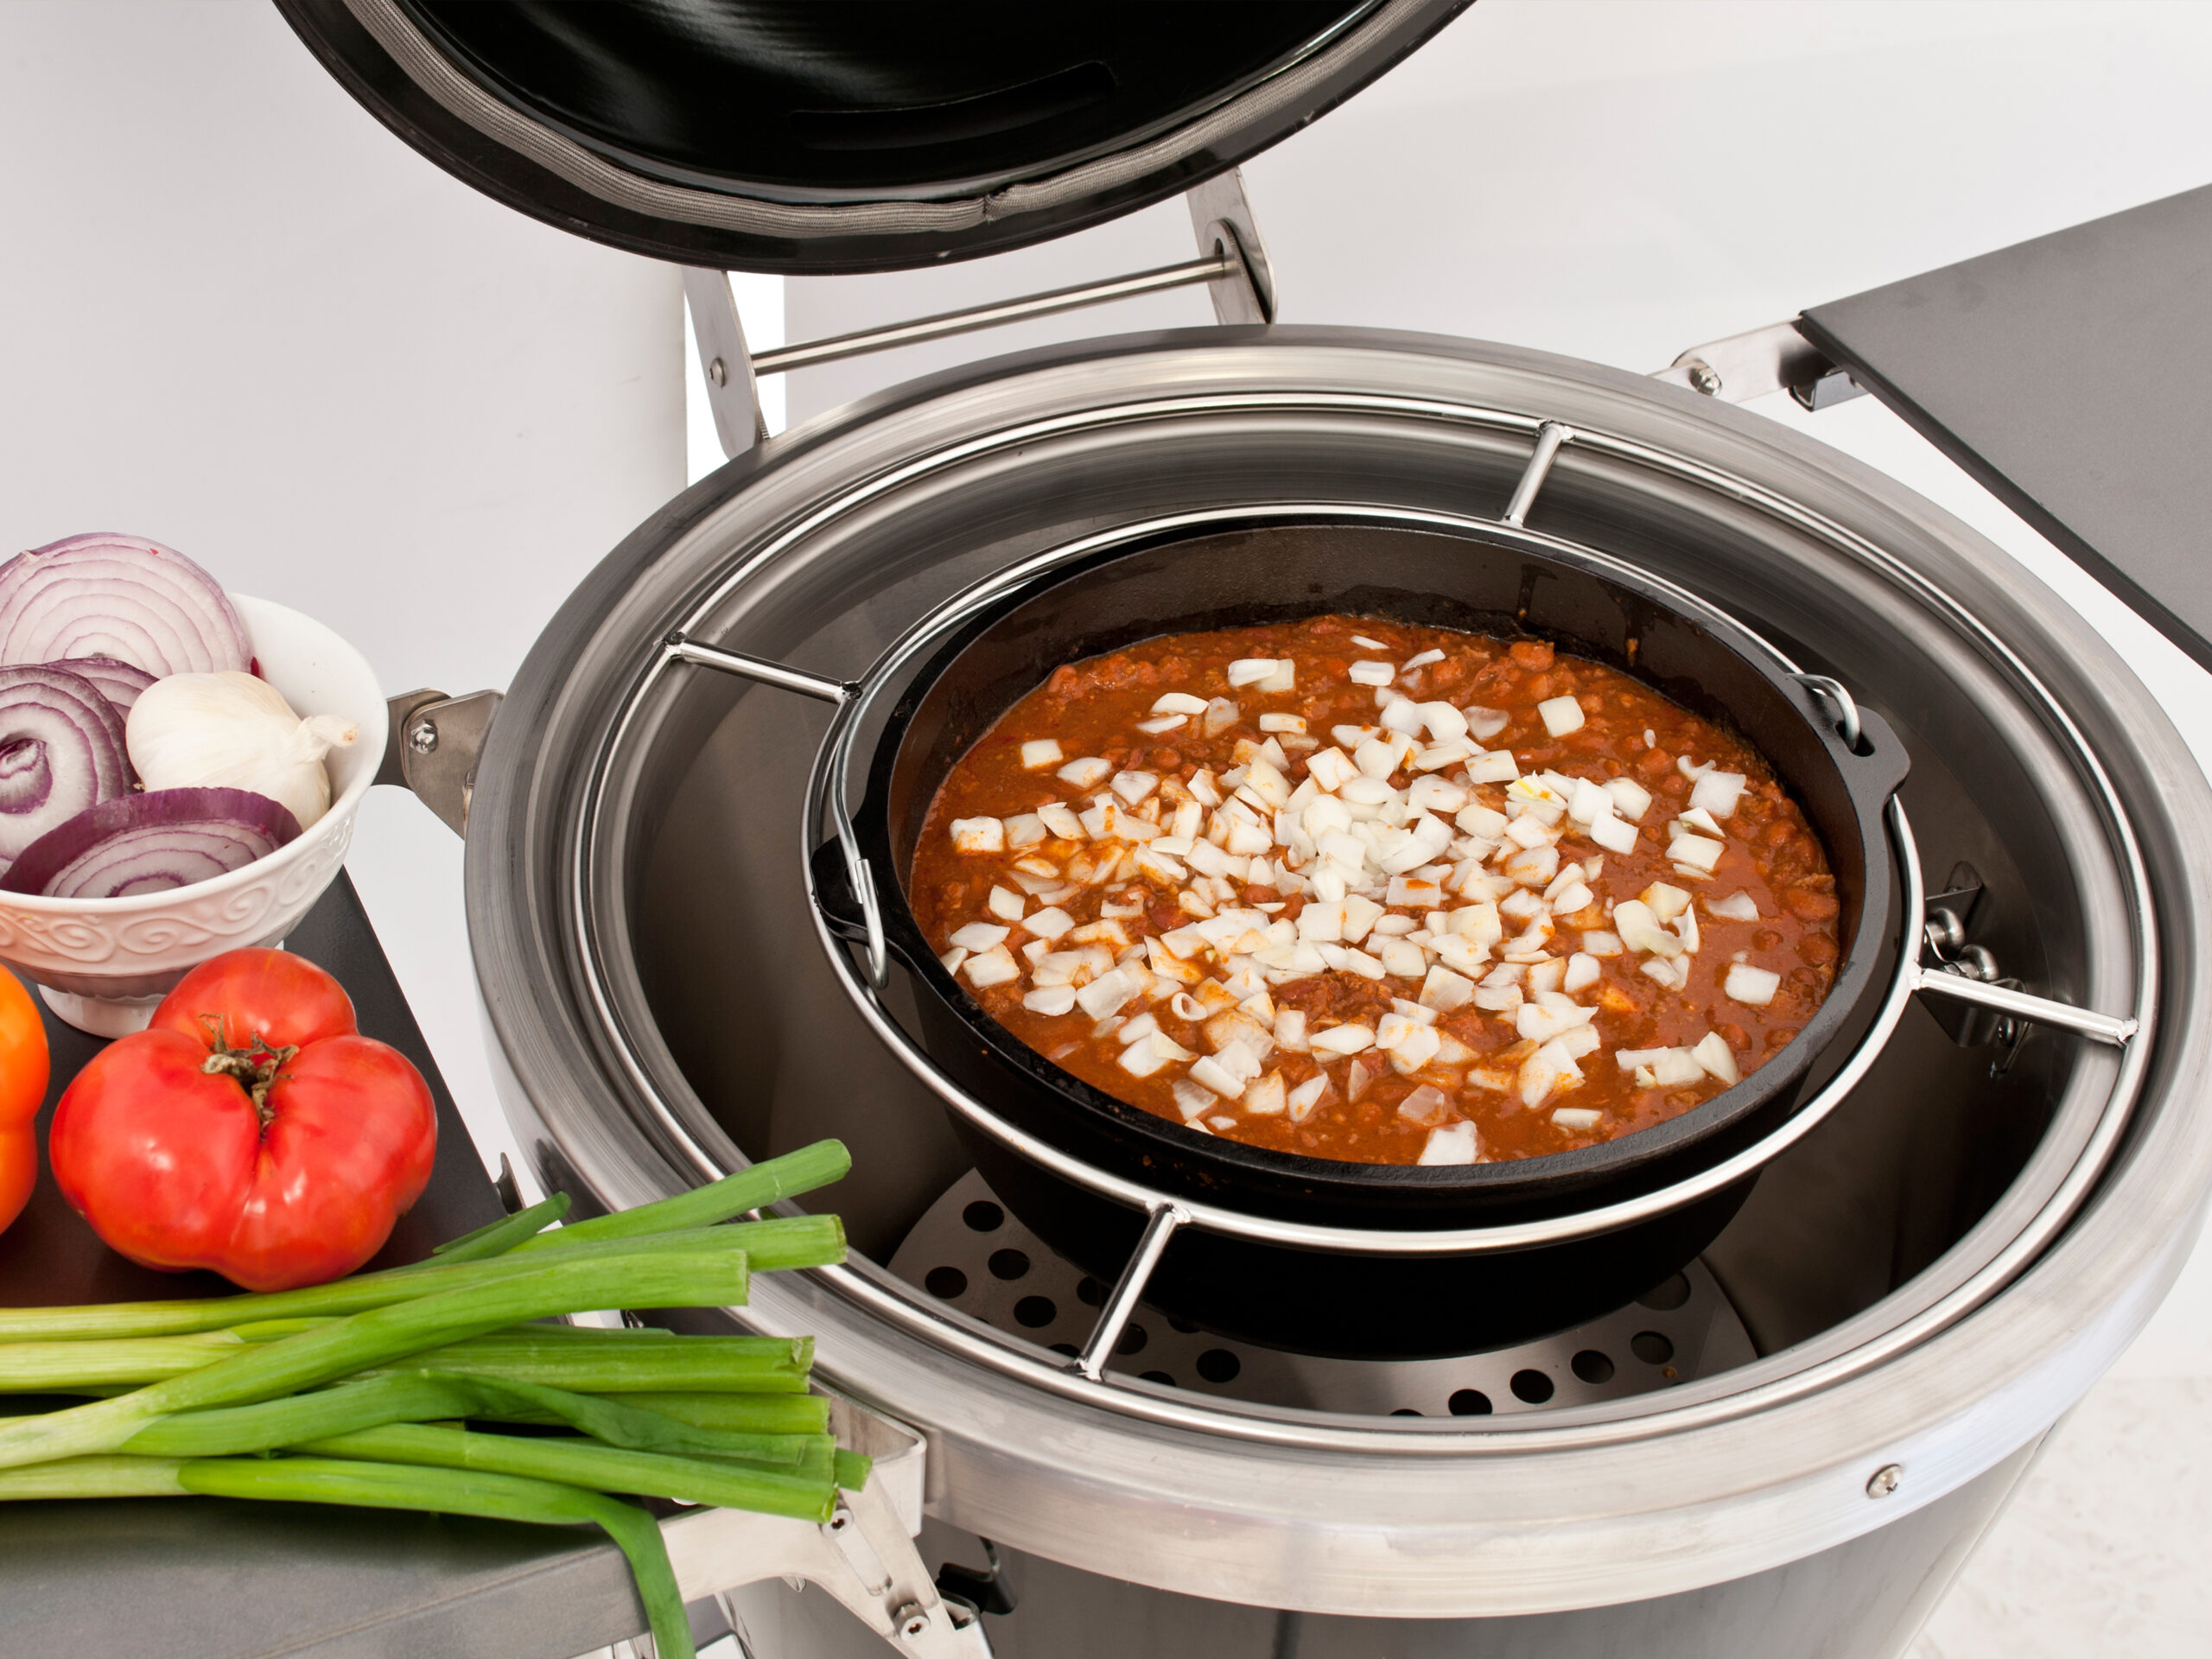
Do you still have brisket left from your last barbecue? Here’s a crowd-pleasing way to transform those leftovers. Place your 14” Caliber Cauldera Iron Cooking Pot in the holder above the charcoal prior to lighting your fire. Heat your Caliber Pro Kamado smoker to about 250-300ºF (approximately 15-20 minutes) using lump charcoal within the center of the bottom charcoal plate. Once the pot is heated, sauté your bacon in the Cauldera until it is crispy. Add the onions and cook until soft (about 5 minutes). Add the bell peppers and garlic and cook an additional minute to soften. Add the raw ground beef and dry seasonings. Once cooked, add the brisket. Deglaze the pan wiht the beer and cook off the alcohol (about 1-2 minutes). Then add the coffee, Dr. Pepper, tomatoes, sauce, beans, corn and green chilies.
Add a small handful of pecan wood chips to the fire to give it an even smokier taste. Close the lid to cook a minimum of one hour. At this point, add salt to taste. The longer it simmers, the more flavorful the chili will become. If the chili starts to get too thick, you can add water (1/2 cup at a time) to thin it out.
Ingredients to fit the 14” Caliber Cauldera Pot (CTP22-CCA): 12 oz pack of bacon, chopped 2 large sweet onions 2 red peppers and 1 orange pepper, chopped 6 teaspoons of garlic, finely diced 1 lb of ground beef 5-6 cups leftover smoked beef brisket (cut up into 1/2” cubes) 4 tablespoons chili powder (more if you prefer spicier) 2 tablespoons cumin 1/2 teaspoon dry chipotle seasoning 1 tablespoon smoked paprika 1 (12oz) bottle of beer and 1 can of Dr. Pepper 1/2 cup coffee (cold and leftover from your morning pot) 2 (15 oz) cans diced tomatoes 2 (15 oz) cans tomato sauce 1 (15 oz) can black beans (drained and rinsed) 1 (15 oz) can white beans (drained and rinsed) 1 (15 oz) can kidney beans (drained and rinsed) 1 (15 oz) can of corn (drained and rinsed) 2 small (4 oz) cans of diced green chilies Salt to taste at end
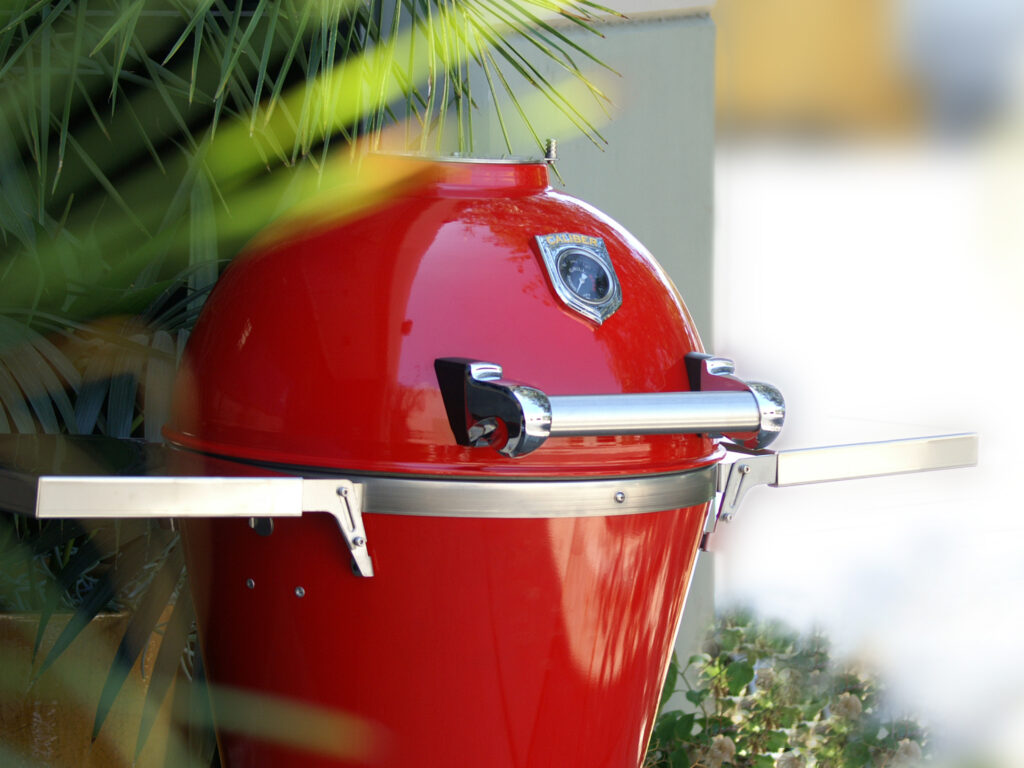
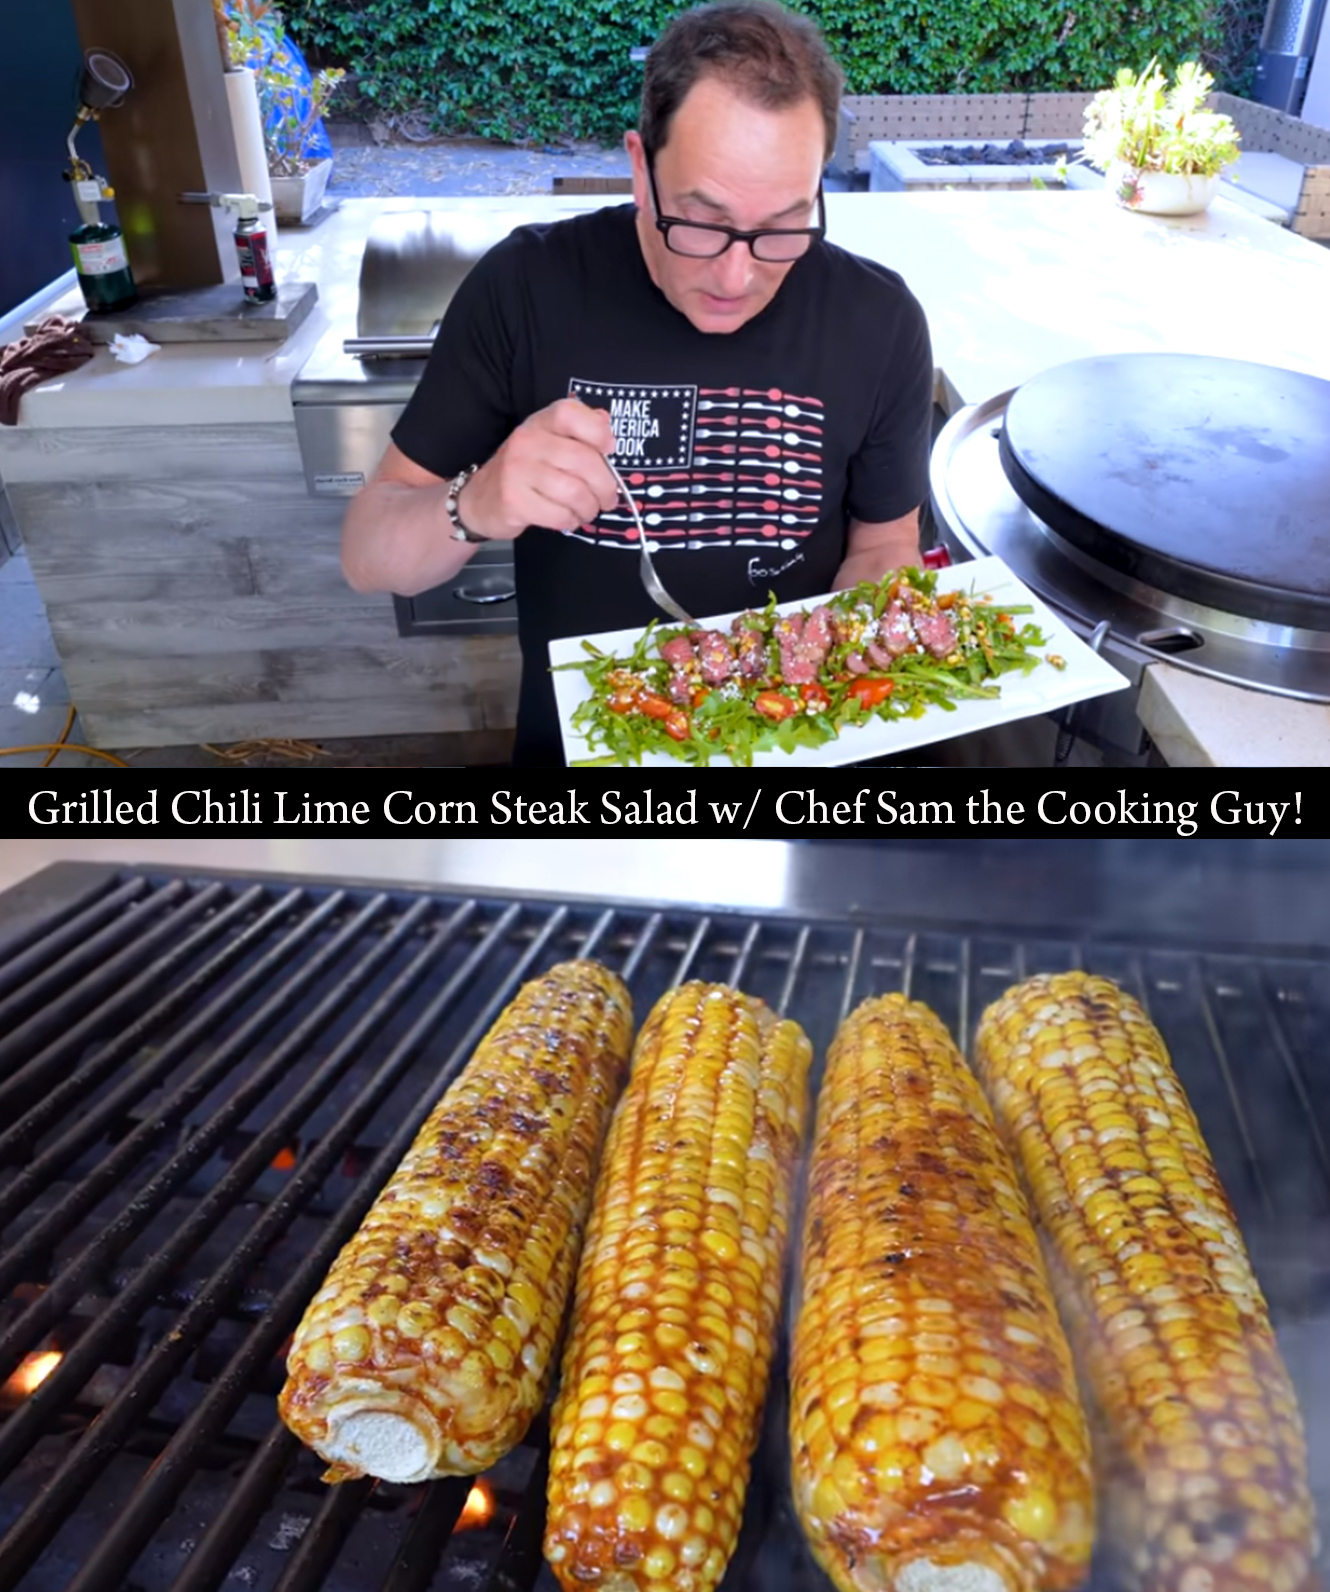
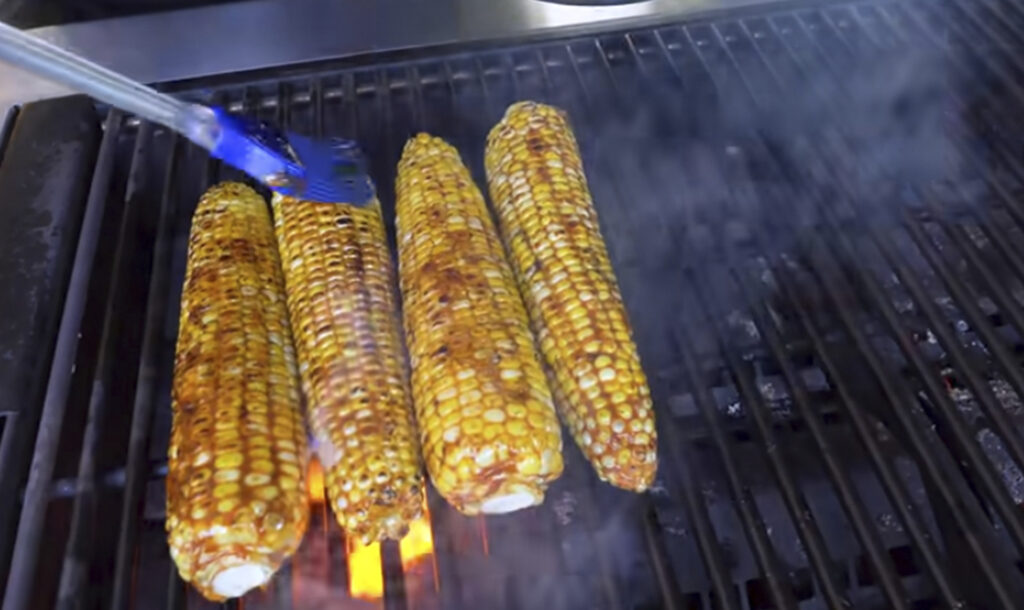
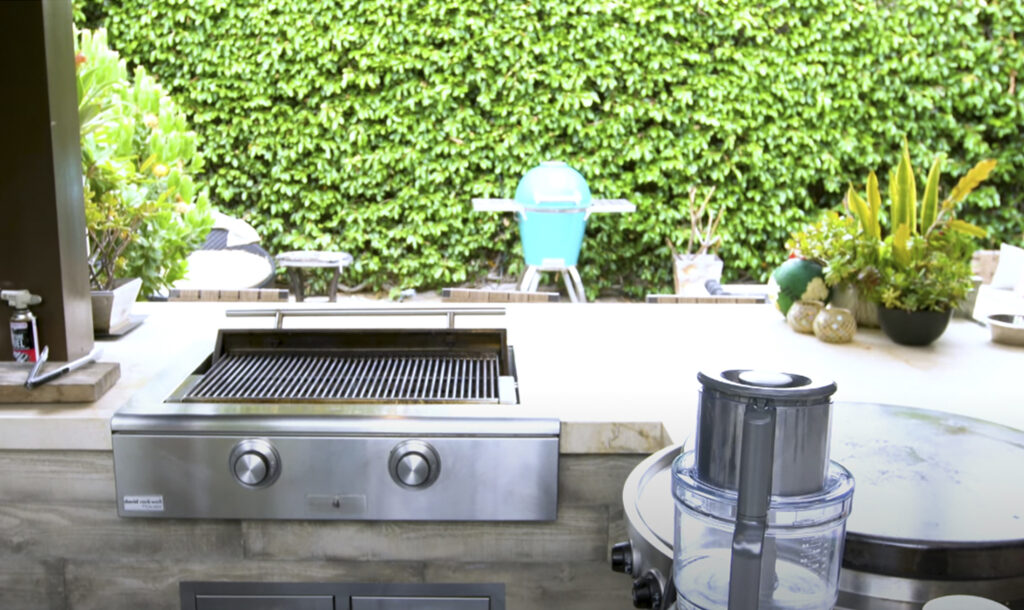
The grilled corn makes this the perfect summer salad. Before setting the corn on your Caliber grill (Sam’s Rockwell by Caliber Social Grill featured above) brush it with a little avocado oil and prepare to grill it for about twenty five minutes. Create an amazing chili lime buttery sauce to brush over the corn while it’s cooking with one and half sticks of melted butter, a Tablespoon and a half of chili powder, two cloves of smashed garlic cloves and the juice from one lime.
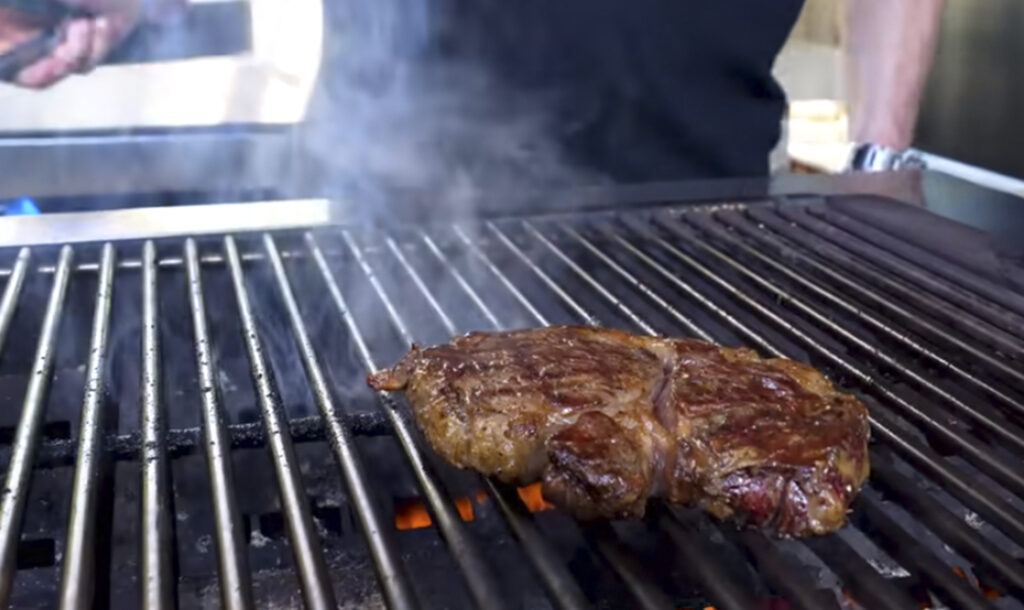
Sam grills a ribeye steak sprinkled with a little salt and pepper and sets it aside to rest before cutting it for the salad.
Sam additionally sprinkles some cojita Mexican cheese and tomatoes over arugula with the steak and corn to make a delicious and bright summer salad. For the full video click here or below.
If you love grilled corn try Sam’s Mexican Style Street Corn recipe by clicking here or below.
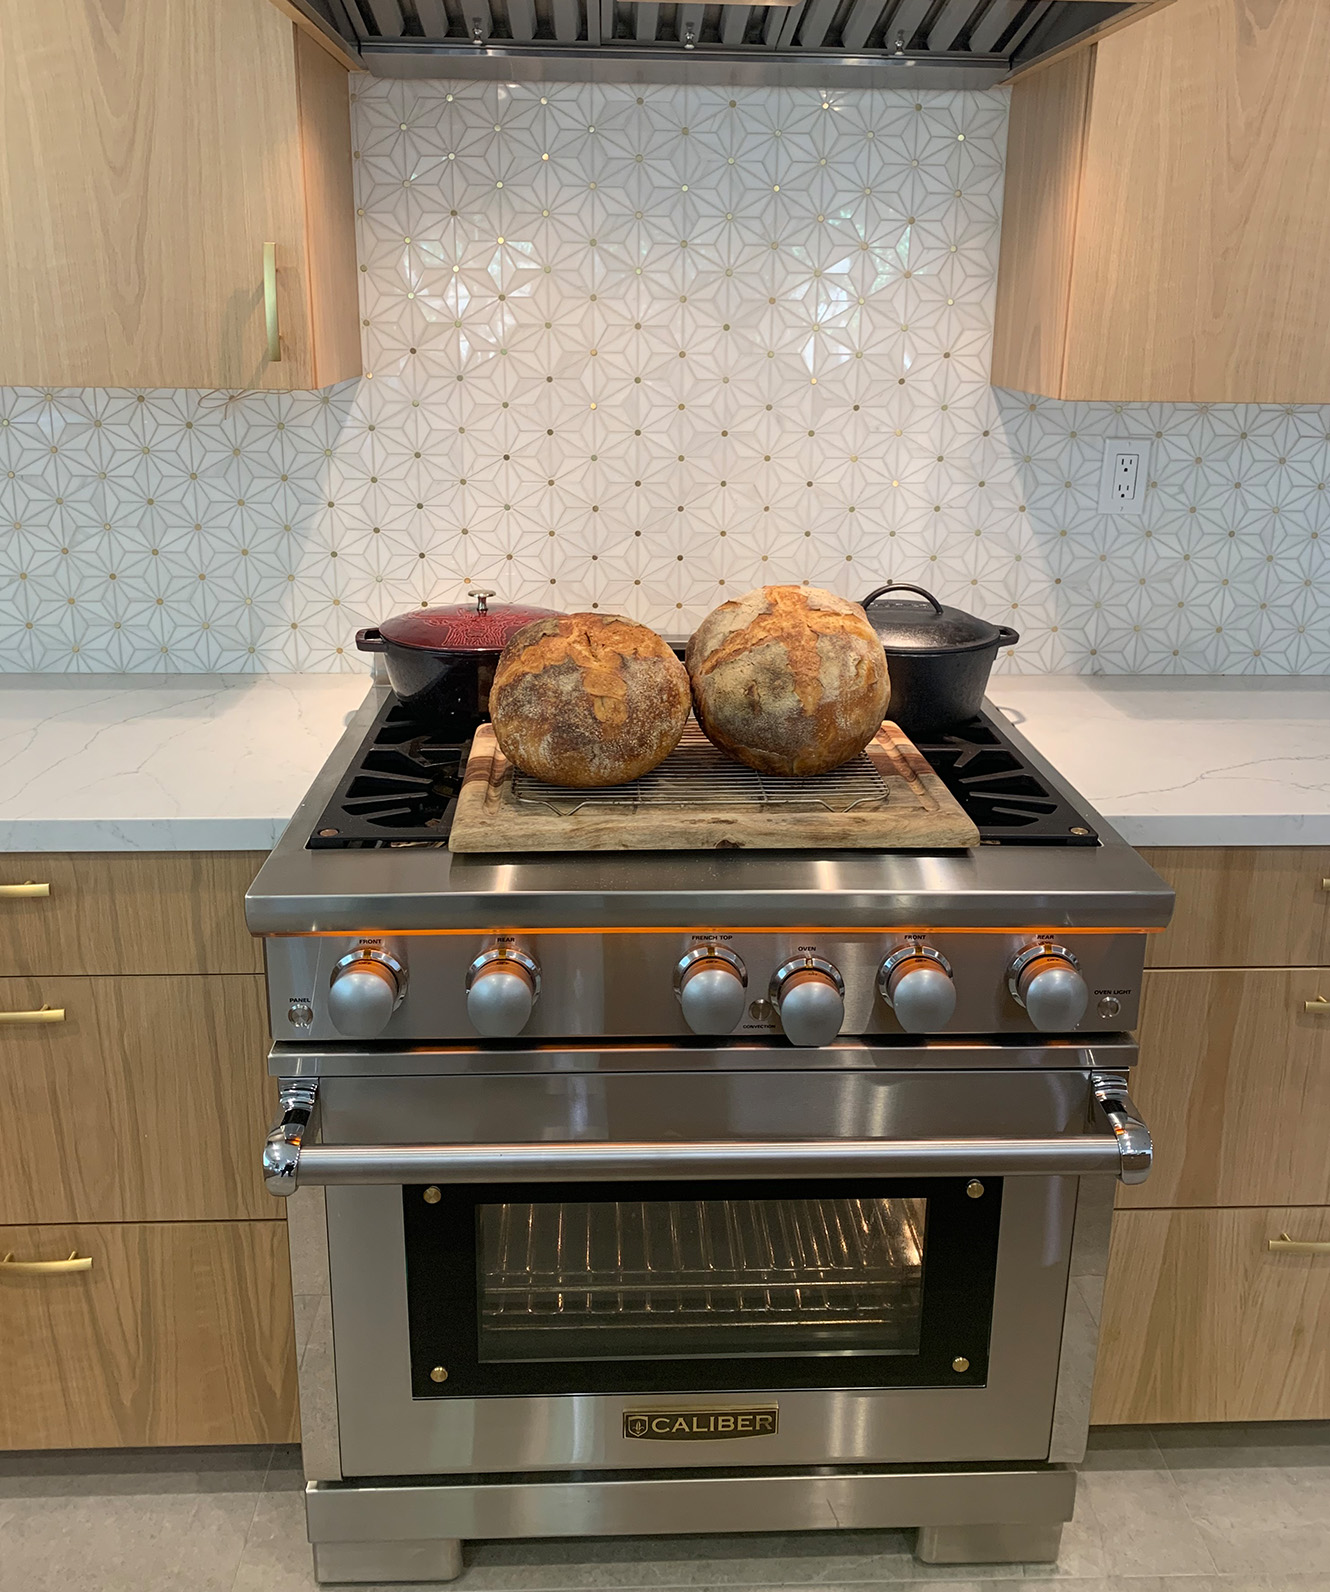
Thank you Home Chef Christina for this wonderful “Bread Creation” tutorial and recipe on your Caliber Indoor Professional Range! Now take it away Christina with your tutorial:
This is more of a creation than a recipe. I have been keeping a bread journal . . . . Yes, a bread journal. I have been trying different techniques and also asking friends who bake bread. So this is a combo of CREATING BREAD from online tutorials, my brother-in-law’s kitchen, and a book I’m obsessed with called Flour Water Salt Yeast.
This creation uses a sour dough starter instead of yeast to rise. It takes 7-10 days to create a sour dough starter. I created mine using a few different methods and – changed things up along the way – couldn’t tell you how to get my exact method, if I tried, (thus the reason I started the bread journal). I suggest you look up recipes online or better yet, if you have a friend who has a starter – beg, borrow or steal it from them.
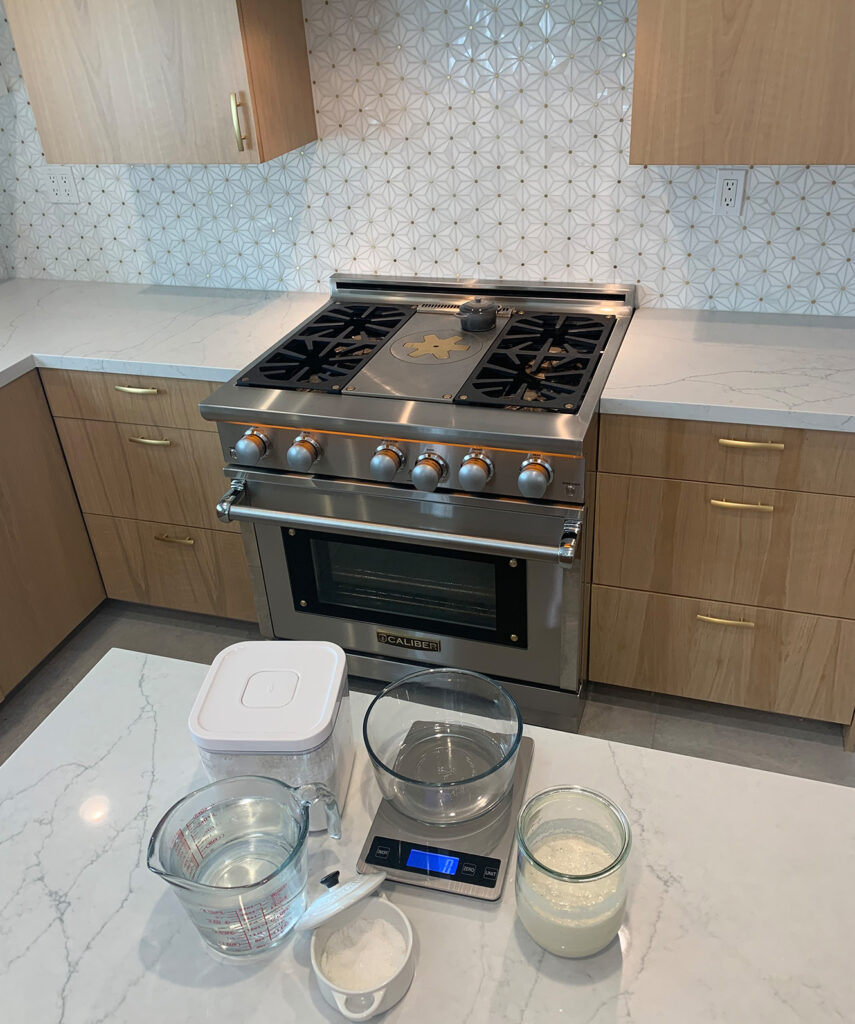
TOOLS:
Food Scale (non-negotiable)
Container for your starter (I use a Weck Tulip Jar – size large)
Container with Lid – for primer
Bowl
Spatula or spoon
Kitchen Towel
Pastry Scraper
Parchment paper
Dutch OVEN (I use LODGE cast iron and STAUB)
Proofing basket (or parchment lined bowl)
CALIBER RANGE
INGREDIENT LIST:
Sourdough Starter
Bread Flour
Water (lukewarm)
Salt
Rice Flour for dusting – only necessary if using a proofing basket
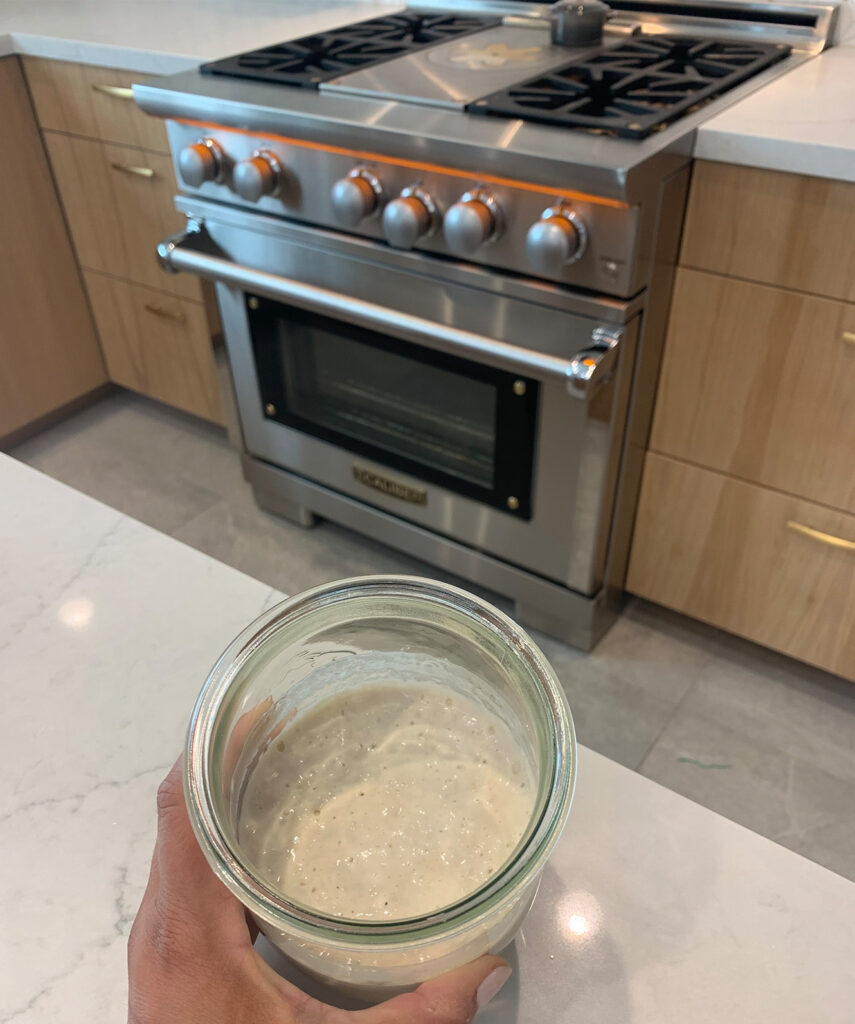
STEP 1:THE STARTER! A healthy starter is the key to this. I feed mine the day before I’m going to bake with 3 TBS bread flour and 2 TBS lukewarm water. Stir it up and make sure it’s been allowed to rest for 8-16 hours from feeding.
STEP 2: Make the PRIMER
100 grams of lukewarm water
75 grams of sourdough starter
100 grams of bread flour
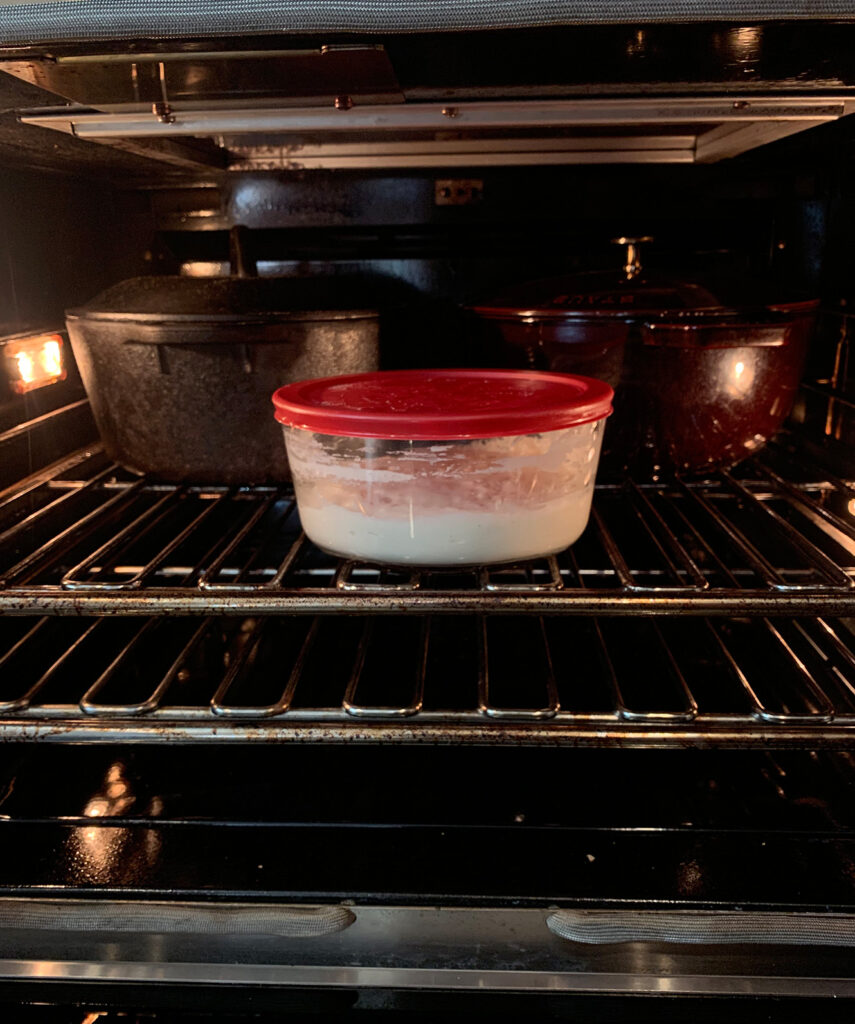
Start with water and then add in your starter. Stir to combine then add the flour and stir to combine: done in this order, it mixes up better. In the end, your scale should read 275 grams of primer. Put the cover on and place in your oven with the oven light on. This is called proofing. The Caliber oven light is strong enough that even in the cold winter months, my primer was able to activate within 2-4 hours.
STEP 3: Make the DOUGH
400 grams of lukewarm water
200 grams of primer
600 grams of bread flour
16 grams of salt
Measure out the water and add 200 grams of primer into the water. The primer should float slightly on top of the water. This is an indicator of a good primer and will ensure you get a BEAUTIFUL looking loaf. Stir to combine. Add bread flour and salt. Stir to combine.
Cover with a wet dish towel or a lid and let it rest for 1 hour. This allows the flour to fully incorporate.
STEP 4:PULL and PUSH
This is the first step to incorporate air and get that dough moving. With your hand grab a portion of the dough from the outside and gently lift it into the air (PULL) but don’t let it separate from the rest of the dough and then put (PUSH) it back into the dough, placing it into the center. Turn the bowl a quarter turn and grab the next section. You will do this 4-5 times depending upon how much you turn your bowl. Don’t worry, if you do this 3 times or 8 times, it ends up the same (bread journal notes talking here) cover and allow it to rest for 3-6 hours. There are great tutorials online to show you this technique
STEP 5:KNEADING
One you have seen the bread rise and poof up a bit – you know that it’s ready to knead. I don’t use flour for this part. The bread will be slightly sticky – but if you keep things moving – you won’t have too much waste. I can describe my kneading technique as a SLAP, PULL, ROLL, TURN process. Take all of the dough out of the bowl and SLAP it down onto a clean hard surface (I use my quartz countertop). PULL or lift the dough off the surface and ROLL as you’re doing this to and then TURN it and SLAP it down, PULL up and ROLL the dough over and TURN to continue. I do this 20-40 times. It really depends upon how the dough FEELS at this point. The dough should become less sticky and roll easy and start to feel fuller of air. COVER and let rest for 2-4 hours. Cleaning out your bowl in between may help it stick less.
STEP 6:SHAPING before the final rest
Flour your working surface and pastry scraper. Turn your dough out onto the surface. Your goal here is to add a little more air and shape the dough before its final rise. First, fold the dough over itself to make a half circle. Second, fold again to make a quarter circle. Now grab your scraper and use your other hand to turn the quarter circle while scraping and lifting with your other hand. You should be turning and scraping and lifting the dough off of the surface and forming it into a rounded mound.
STEP 7:FINAL RISE
Your bread will rest while you rest – it needs at least 6 hours for this step, but I have left it for 14 hours (because life happens) and it turned out great. The final rise happens in your FRIDGE.
Option 1: Use a proofing basket. Ensure there is enough rice flour in the proofing basket to keep the dough from sticking. Place your dough rounded side DOWN into the basket. So starring up at you is the bottom of the mound. Cover with a DAMP dish towel and put in the fridge.
Option 2: Use a parchment lined bowl. No need to add any flour or anything. Just make sure the parchment is large enough to overhang off the bowl once the dough is placed in. This will make the transfer to your Dutch oven easier. Use your scraping tool to put the dough rounded side UP into the bowl. So starring up at you is the smooth side of the dough. Cover with a DAMP dish towel and put in the fridge.
STEP 8:PRE-HEAT the oven and the Dutch oven
This is where the Caliber SHINES – this is your most important tool on the list. By just turning the lights on in the Caliber Indoor Pro Range it creates enough heat for the perfect environment for proofing bread. I bake 2 loafs at a time and use a STAUB and a LODGE Dutch oven and both come out fantastic.
Place your Dutch oven inside for the pre-heat process. Set your oven to 475 and pre-heat for 30 minutes.
STEP 9:BAKING (finally)
Pull your dough from the fridge
CAREFULLY remove your Dutch oven out of the oven and put your dough directly into the Dutch oven.
Option 1: Proofing basket. Place a piece of parchment paper over the top of the basket and turn it out so that the rounded dough is looking up at you. Lift the dough and parchment paper into the Dutch oven.
Option 2: Parchment lined bowl. Lift the parchment out of the bowl and place directly into the Dutch oven.
Trim off any parchment that sticks above the Dutch oven. Score the dough to allow air to properly escape. You can get lost in technique and design here – I have attempted a few, bought some fancy scoring tools, and I use kitchen scissors now. I create a simple X pattern on the top of the dough using my kitchen scissors to cut through the dough.
Put the lid on and place in the oven. CONVECTION BAKE at 475 for 28 minutes or 30 minutes if you want a CRUNCHIER crust. The bread will rise and be a LIGHT blonde color
Take the lid off and CONVECTION BAKE at 475 for 20 minutes. This is where the brown color and crunchy exterior comes in.
Remove from the oven and immediately put bread on a rack to cool. You don’t want to leave the bread in the Dutch oven – as it will continue to cook. I put my Dutch oven back into the oven and find that it cools down while the oven cools down.
STEP 10:WAIT . . . the hardest part.
If you want to have this bread for the week – it’s best to wait 4 hours before you slice into it. This keeps the bread from getting gummy and it makes it easier to slice.
But if you’re having company over – or plan to eat it all – go for it – who doesn’t love HOT bread.
Store on bread board covered with a dry kitchen towel or in a bread bag.
TIMELINE: It works best for me to bake in the am, so that’s how I came up with this schedule. If you keep your starter on the counter and have it ready – it only takes 18-24 hours to make bread. . . . You can start at “DAY TWO” portion of the timeline.
DAY ONE
8pm – Feed starter
DAY TWO
9am – make primer
1pm – make bread dough
2pm – first pull and push on dough
6pm – first round of kneading
8pm – last kneed and put in the fridge
DAY THREE
6am – heat up oven
7am – remove bread from fridge and prepare to bake
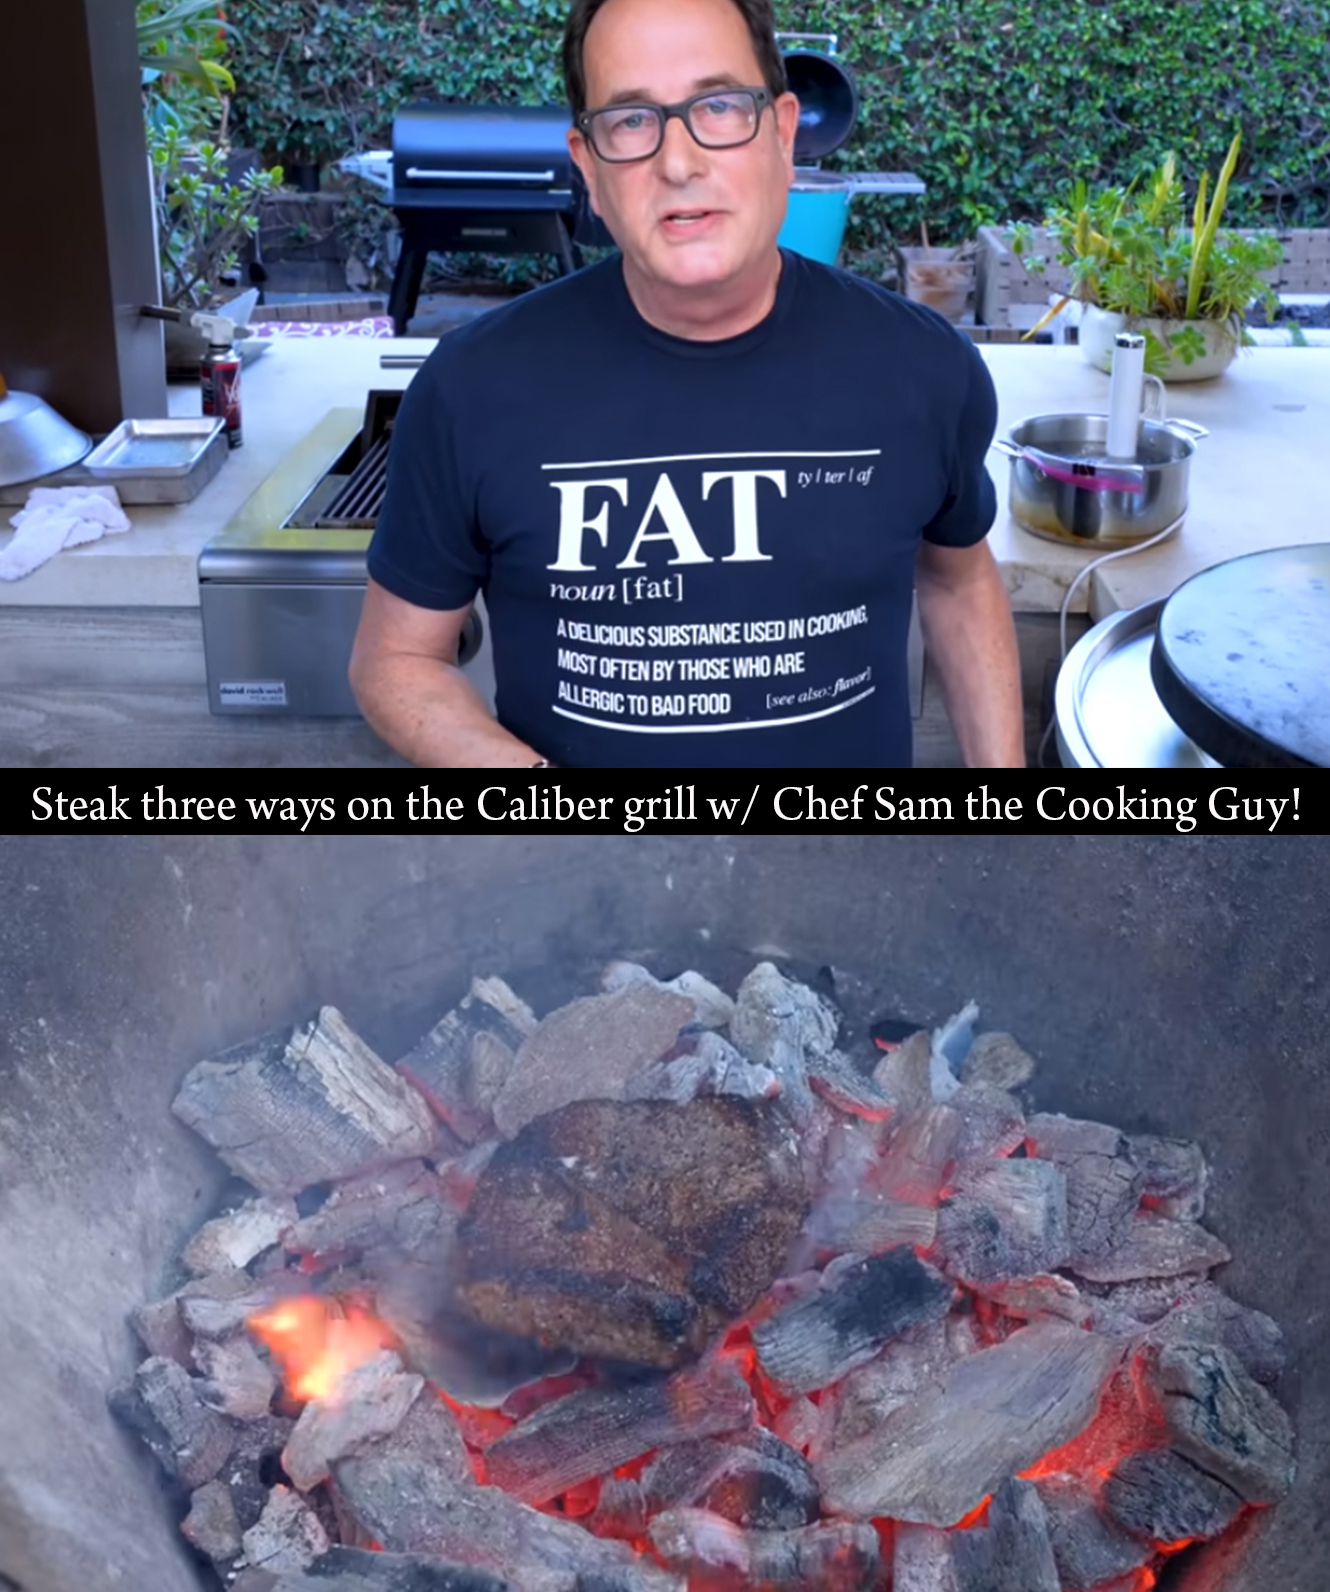
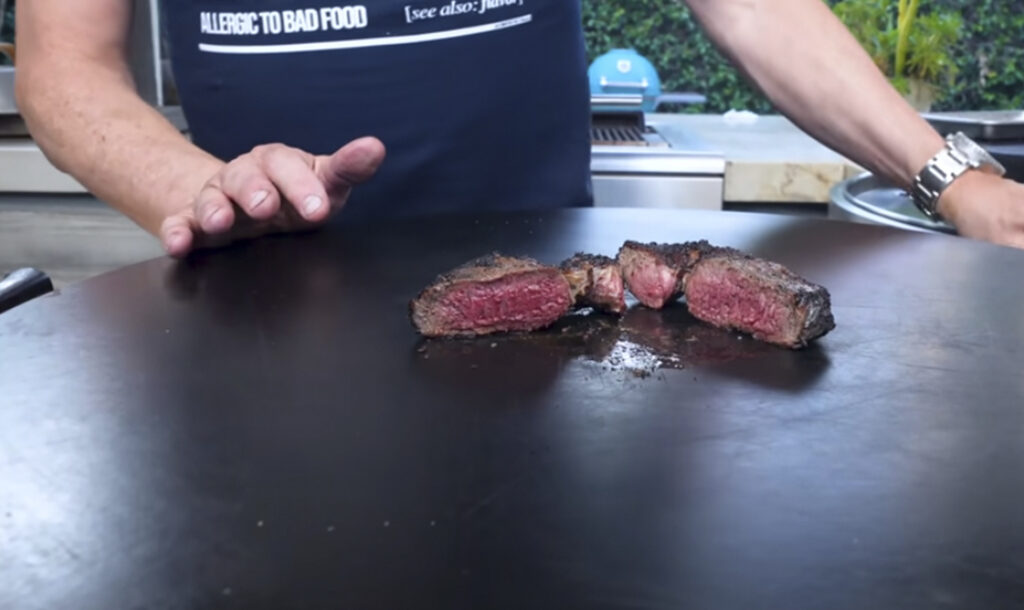
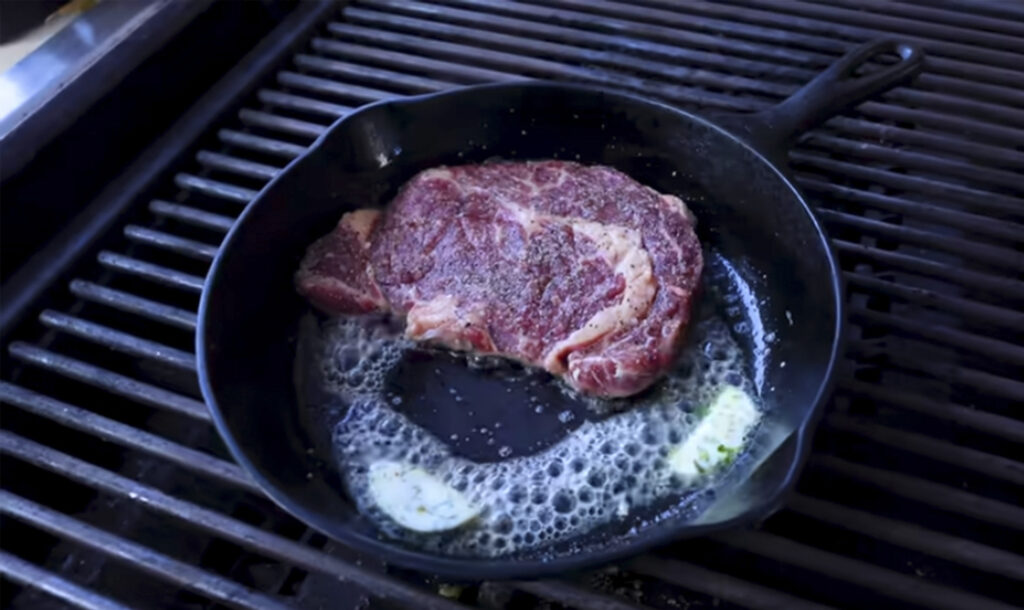
Learn how to cook a beautiful steak in a cast iron skillet over the Rockwell by Caliber Social Grill, on the Caliber gas grill and right over the coals of the Caliber Pro Kamado. Chef Sam’s key ingredients are an equal amount of salt, pepper and garlic powder sprinkled over the steaks. Also, he recommends leaving your steaks out for approximately 45 minutes prior to cooking them to ensure you don’t have difficulty getting them to the right temperature within the steak.
One of Sam’s favorite ways to cook a steak is in a cast iron skillet. He adds a secret ingredient of clarified herb butter, and the patented disappearing lid of the Rockwell grill allows this grill to double nicely as an outdoor burner.
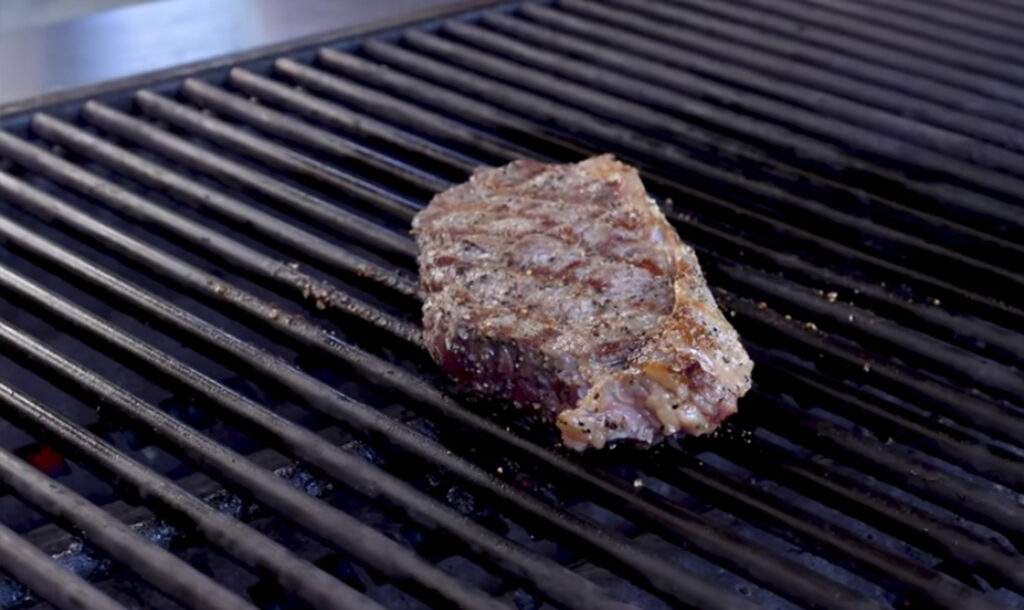
Sam then shows you how to get the grill lines and char using the Rockwell by Caliber gas grill with steaks, and then creates his grandma’s recipe sauce to brush over and finish off this steak.
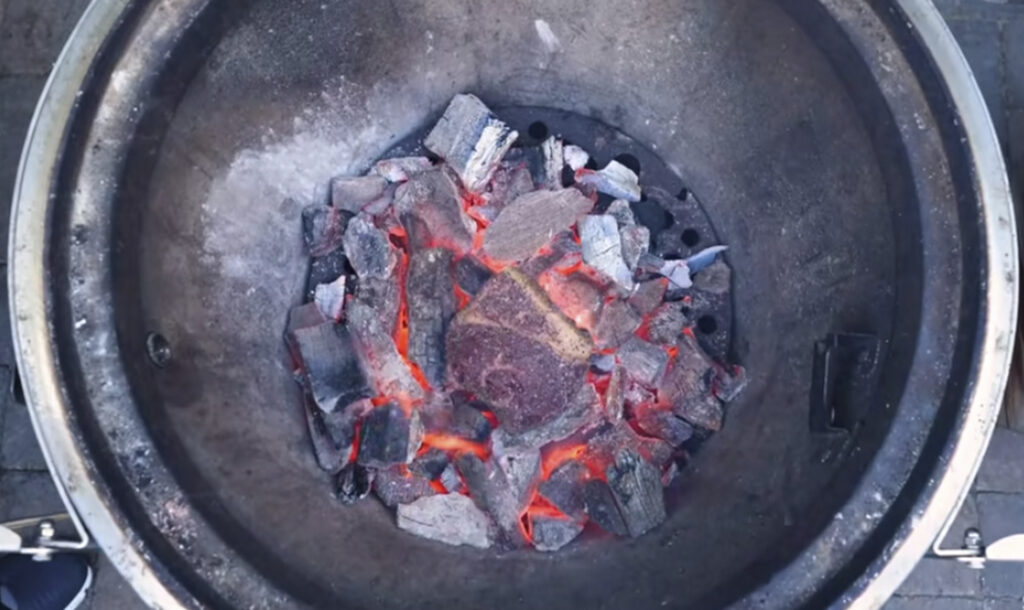
Sam goes old school by cooking the steak directly on the charcoal within the Caliber Pro Kamado.
For more step-by-step instructions click on the video below or here and learn three more ways to cook a steak.
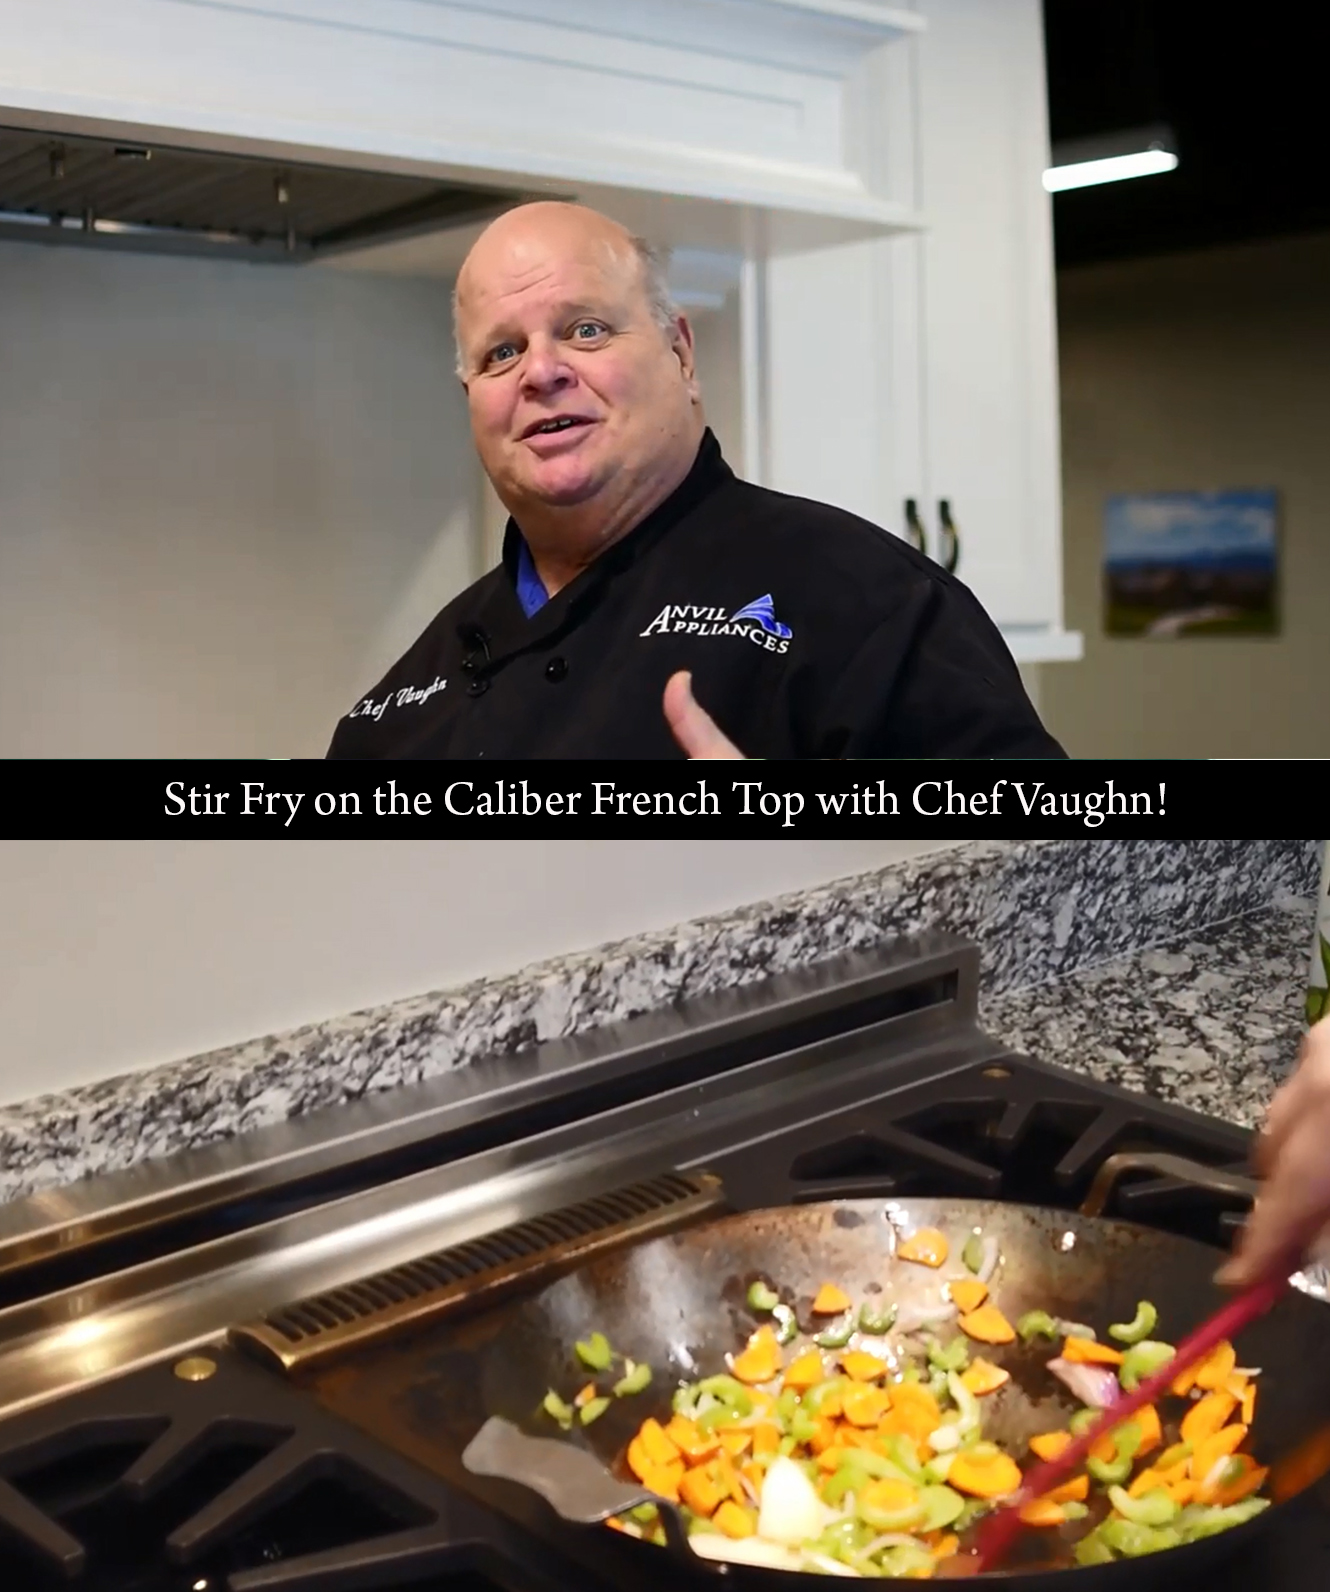
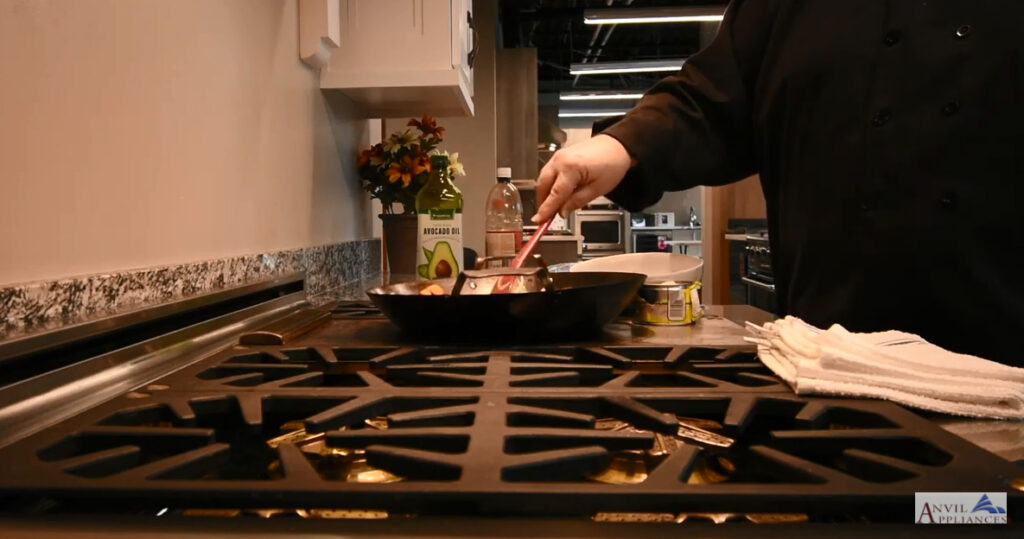
See Chef Vaughn of Anvil Appliances use the wok on the Caliber 25,000 BTU French Top. He creates a delicious chicken and vegetable stir fry. Chef Vaughn can hear the sizzle and see the steam for that perfect cook.
For the full video of Chef Vaughn’s recipe click here or below or visit his youtube channel:
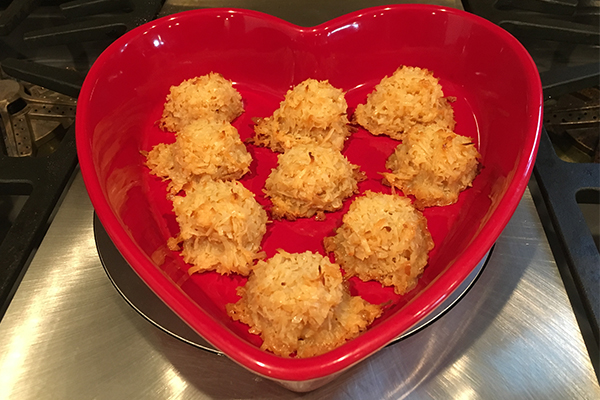
Enjoy these delicious and easy to make macaroons baked in the Caliber Indoor Pro Range with Chef Dan just in time for Valentine’s Day.
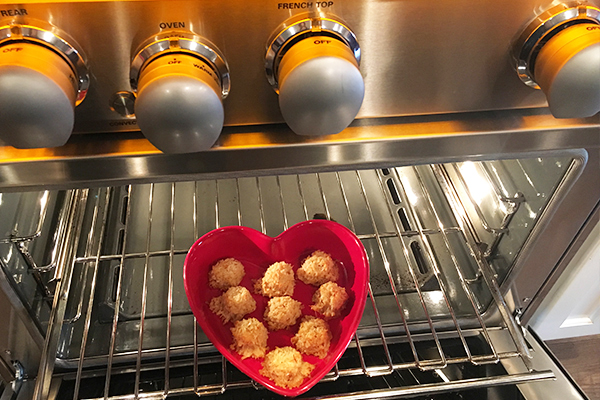
The Caliber range is outfitted with a true chef-sized oven that provides even baking results thanks to its proprietary tri-flow convection technology and ultra-efficientcient flue design. Making the perfect cookie is now easy with this revolutionary new design and your Valentine will love you for making these delicious cookies!
Sweet coconut macaroons baked in the Caliber Indoor Pro Range.
Heat oven to 350ºF. Mix coconut, sweetened condensed milk, and vanilla in a large bowl. Drop teaspoon-sized scoops of batter onto a well-greased cooking sheet 1-inch apart. Press down coconut balls with the back of the spoon to pack the mix so it won’t spread apart during baking. Bake 10 to 12 minutes or until golden brown. Let cool for a few minutes before removing so they do not fall apart. Do not wait too long, because they will stick to the sheet. Cool on wire racks. Enjoy this sweet treat!
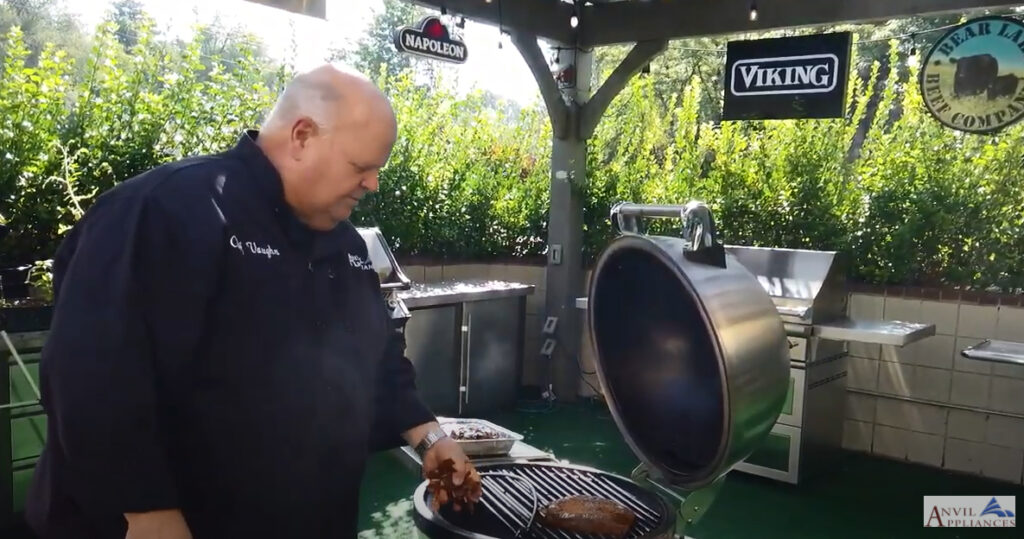
Watch Chef Vaughn of Anvil Appliances in Utah smoke and sear carne asada on the Caliber Pro Kamado. He makes a delicious rub for the carne asada using these ingredients: four garlic cloves minced, two Jalapeno’s minced, Kosher salt, fresh ground black pepper, two limes – juiced, one orange – juiced, two Tablespoons apple cider vinegar, and 1/2 cup avocado oil.
Chef Vaughn also adds soaked apple chips to the kamado to create a unique smoky flavor. For the full video, click here or on the video below. And, contact Anvil Appliances Salt Lake City Design Center location if you want to test drive a Caliber Appliance with Chef Vaughn.
Sam starts with creating an all-purpose compound butter that includes a half cup of butter, two crushed cloves of garlic, a large minced chipotle pepper, a handful of minced cilantro and a pinch of salt and pepper. You should definitely save the leftovers to use on bread or other recipes.
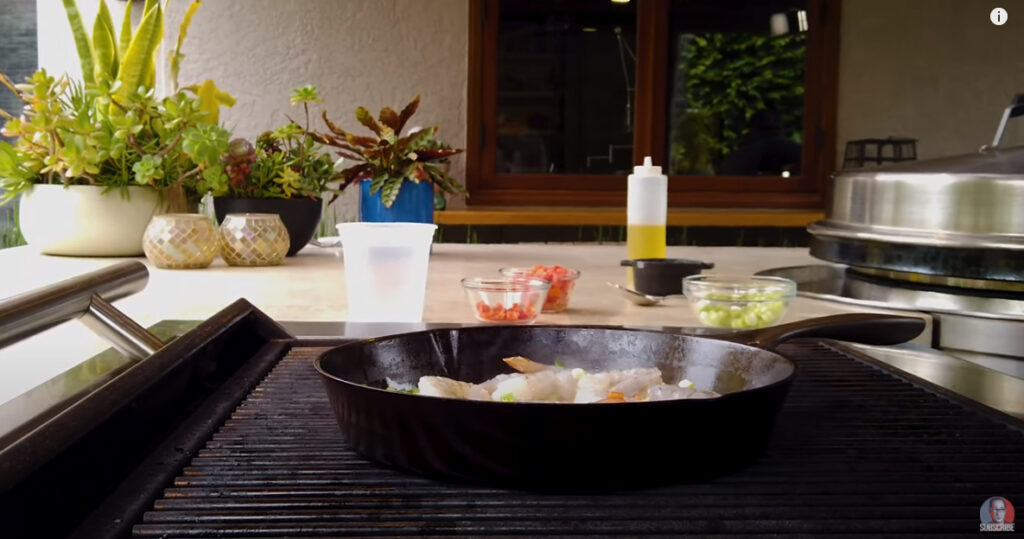
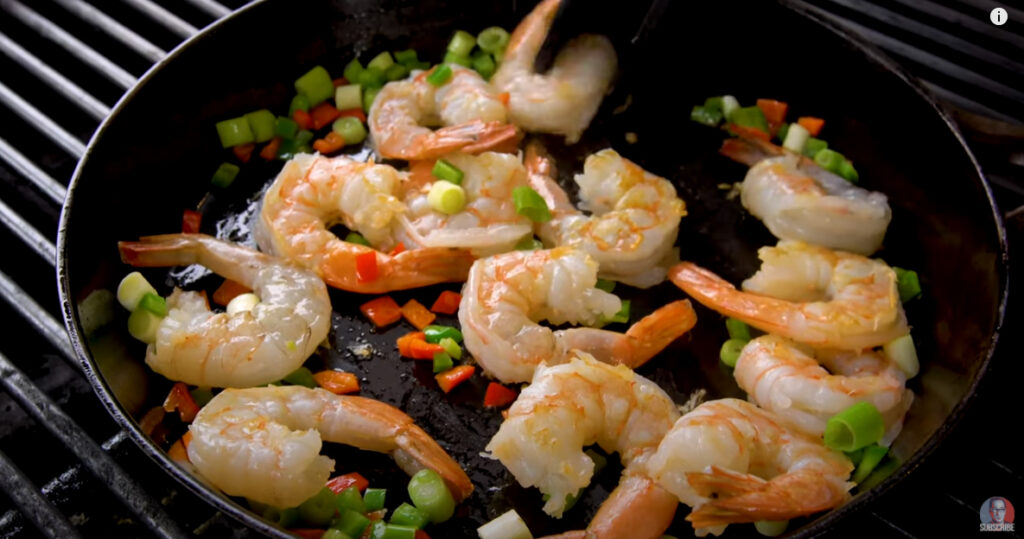
Sam then heats up the cast iron pan and adds oil, 16-18 large peeled and deveined shrimp with the tail on, and chopped red and green jalapeños and green onions.
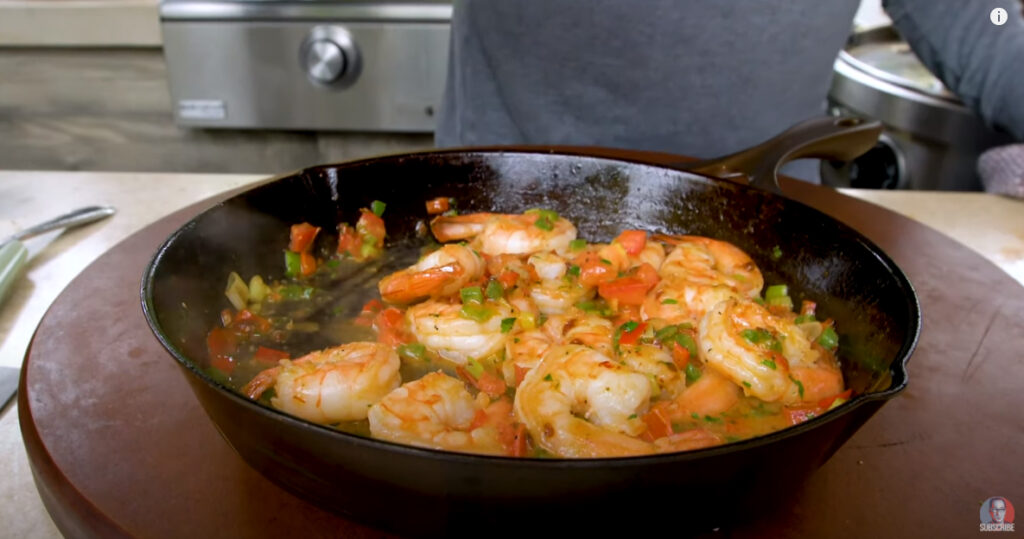
After letting it cook for a few minutes, he lifts the pan and adds a 1/4 cup of tequila and flames it above the grill to ensure the grill doesn’t catch on fire. Lastly, he adds a large dollop of the compound butter and some chopped tomatoes.
Once the pan is off the grill, he continues to stir the shrimp and garnishes the dish with a handful of minced cilantro. For the full video, click here or on the video below. Enjoy!
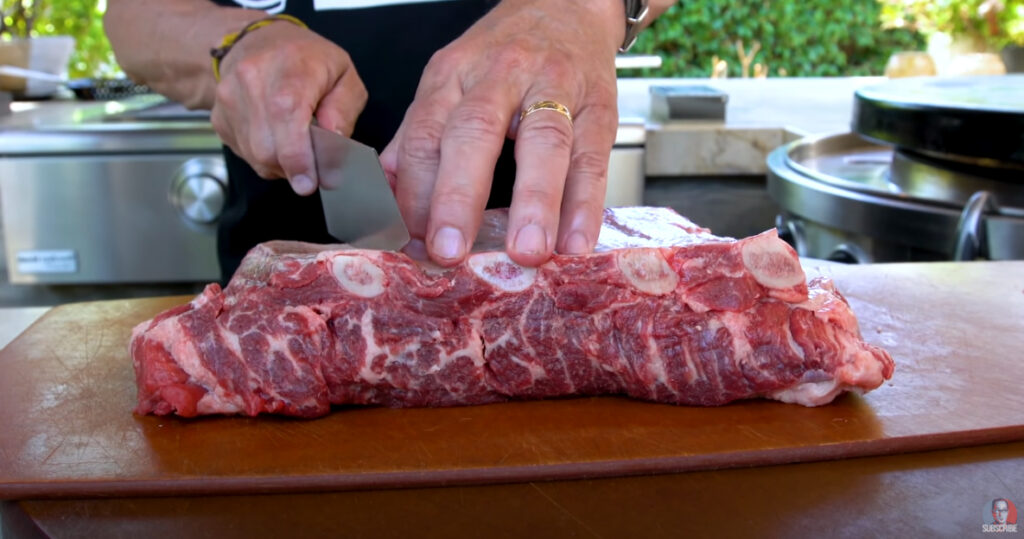
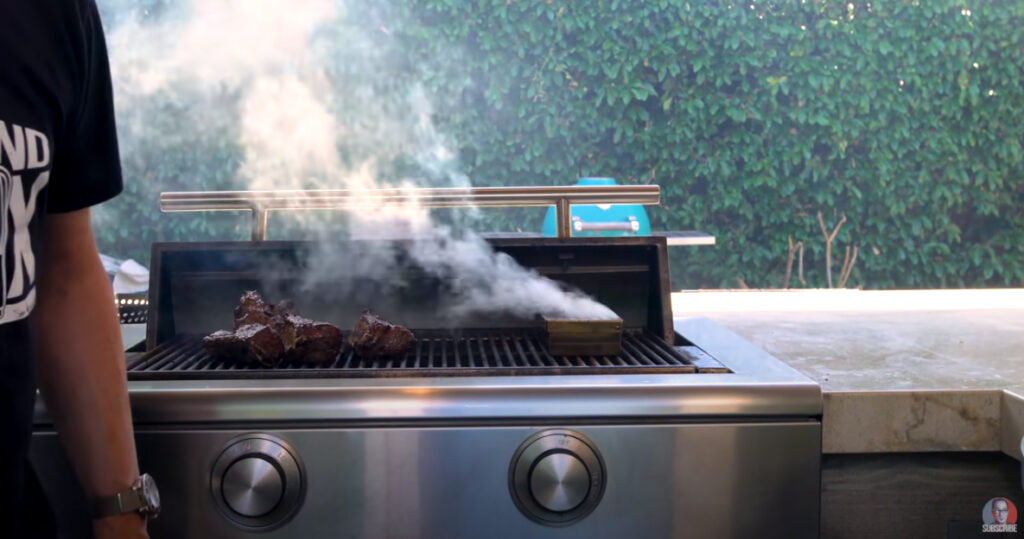
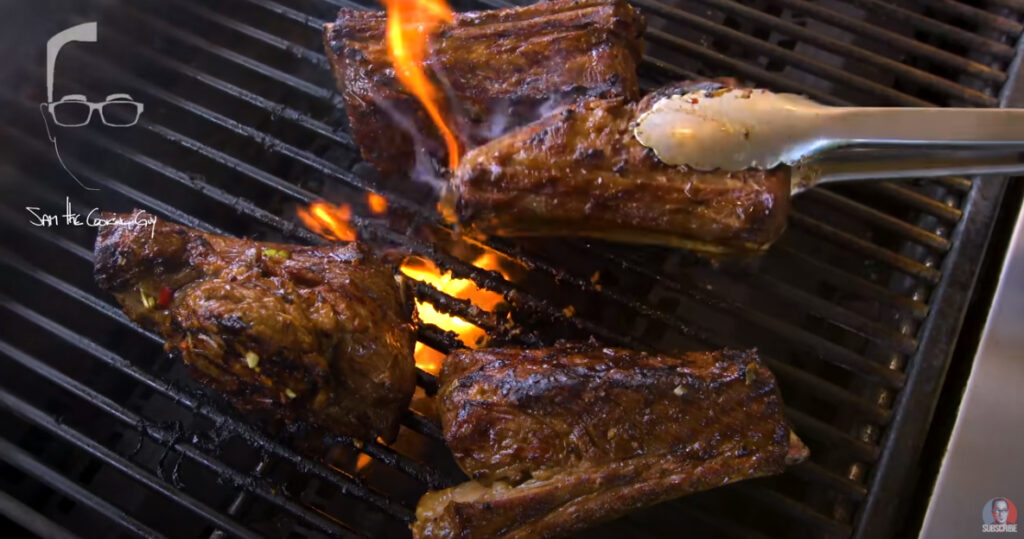
Learn how to trim short ribs in Sam’s video and make a delicious marinade using: minced onions, ginger, red holland peppers and green onions in addition to brown sugar, lime juice, oil, soy sauce, sesame oil, salt and ground pepper.
Chef also experiments with smoking wood chips to impart that smoky flavor and Caliber uses a similar smoker tray on our gas grills.
For the full recipe and grilling demonstration for these ribs by Chef Sam, click on any of the pictures above or the video below or here.